【2025最新】WSL+LaTex+VSCode安装教程

【2025最新】WSL+LaTex+VSCode安装教程
Prong【2025最新】WSL+LaTex+VSCode安装教程
假定你已经在Win里装了TexLive2025,配置了VSCode(实际上没有也无所谓),能正常编译,但苦于编译速度慢,需要利用WSL的Ubuntu的编译速度。
为了避免问题,不要使用中文路径
整合参考了以下教程:
https://learn.microsoft.com/zh-cn/windows/wsl/installhttps://zhuanlan.zhihu.com/p/9322988213
https://www.cnblogs.com/eslzzyl/p/17358405.html
https://blog.csdn.net/m0_73248035/article/details/130565440
https://blog.csdn.net/qq_34013247/article/details/140405816
https://edgeworthlau.github.io/tutorial/latex1/
安装WSL和Linux发布版本
- 启用相关功能
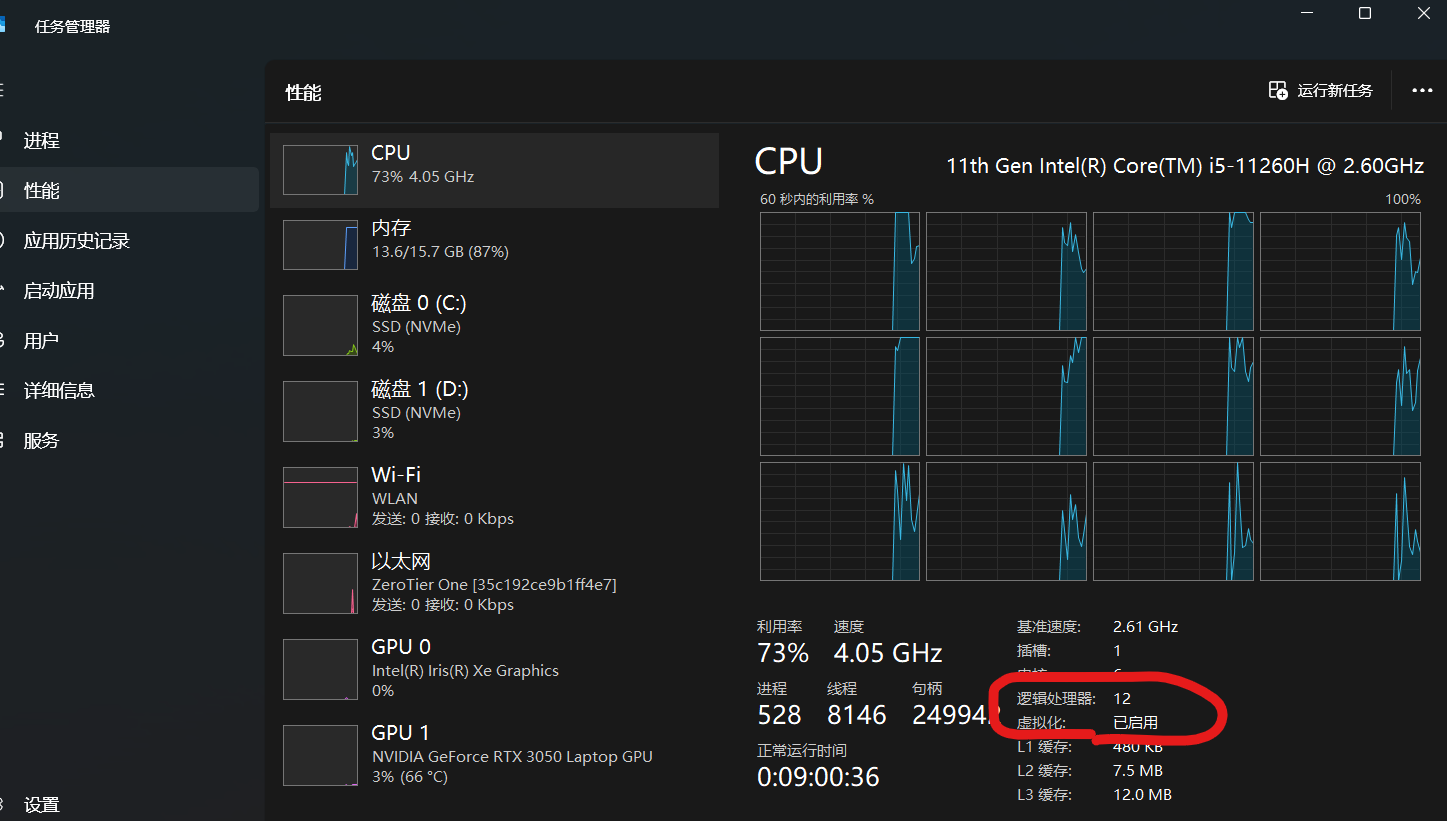
首先确保虚拟化选项开启。这个如果没有开启的话,需要进电脑的BIOS设置里开启
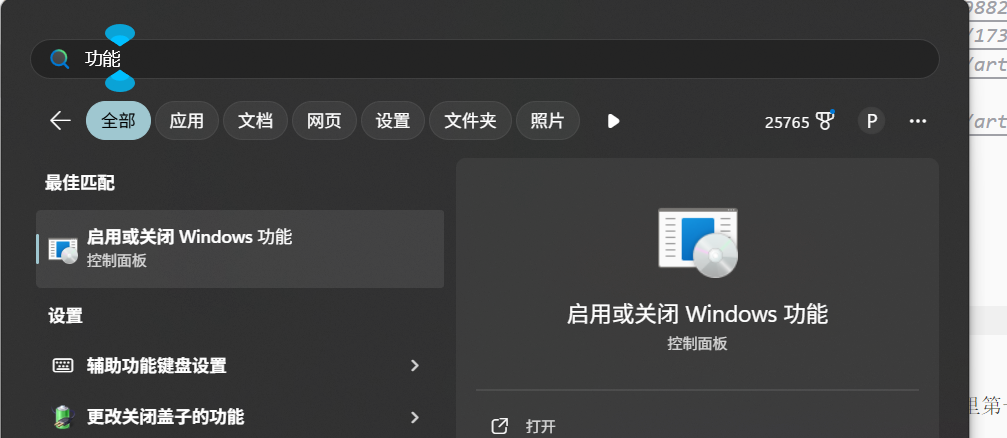
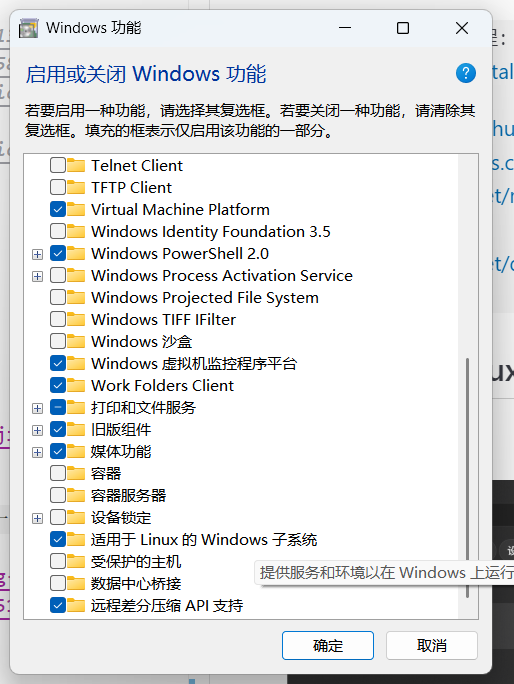
启用电脑功能。找到控制面板-程序和功能-启用或关闭Windows功能,选中“适用于Linux的Windows子系统”、Hyper-V、Windows虚拟机监控程序平台,然后点击确定
以管理员身份运行PowerShell,输入以下命令开启Hyper-V:
1 | bcdedit /set hypervisorlaunchtype auto |
- Windows应用商店里安装Linux
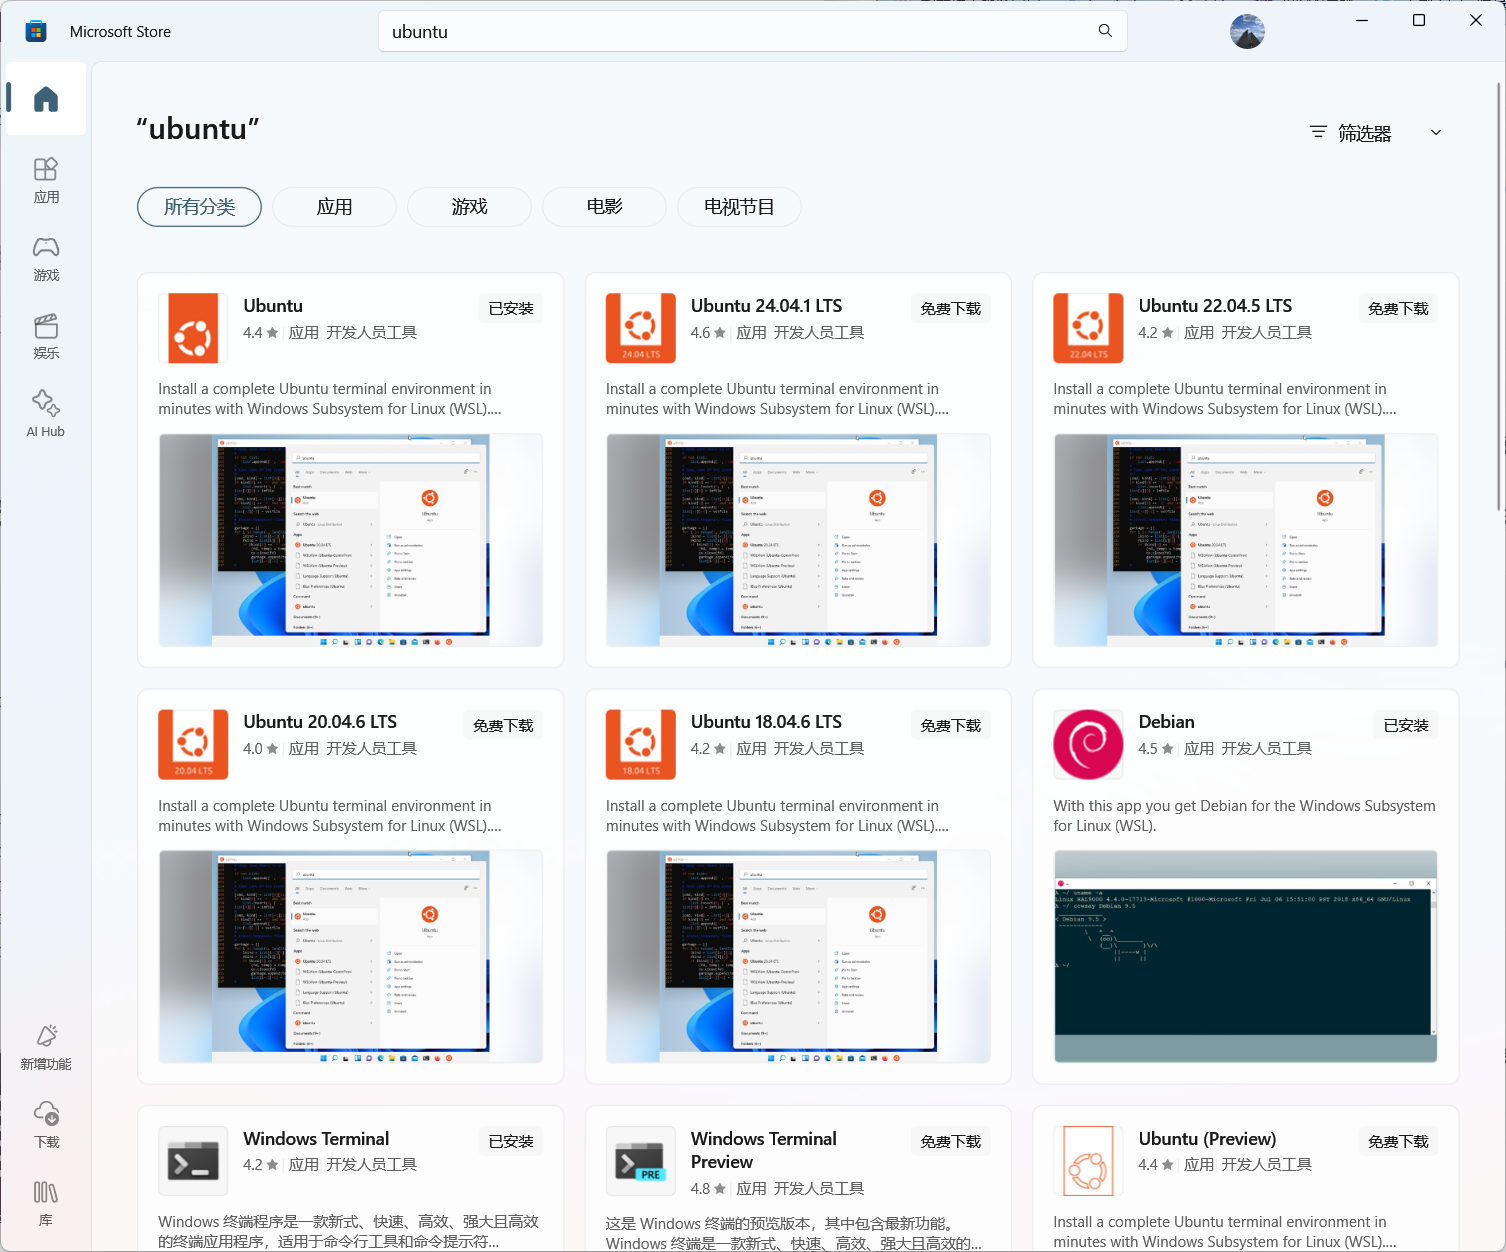
优选windows应用商店直接安装Ubuntu(图里第一个)
以防万一,升个级
1 | wsl --update |
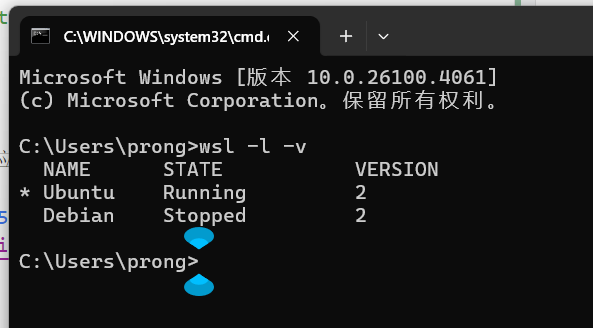
查看WSL版本情况
1 | wsl -l -v |
镜像挂载安装TexLive2025
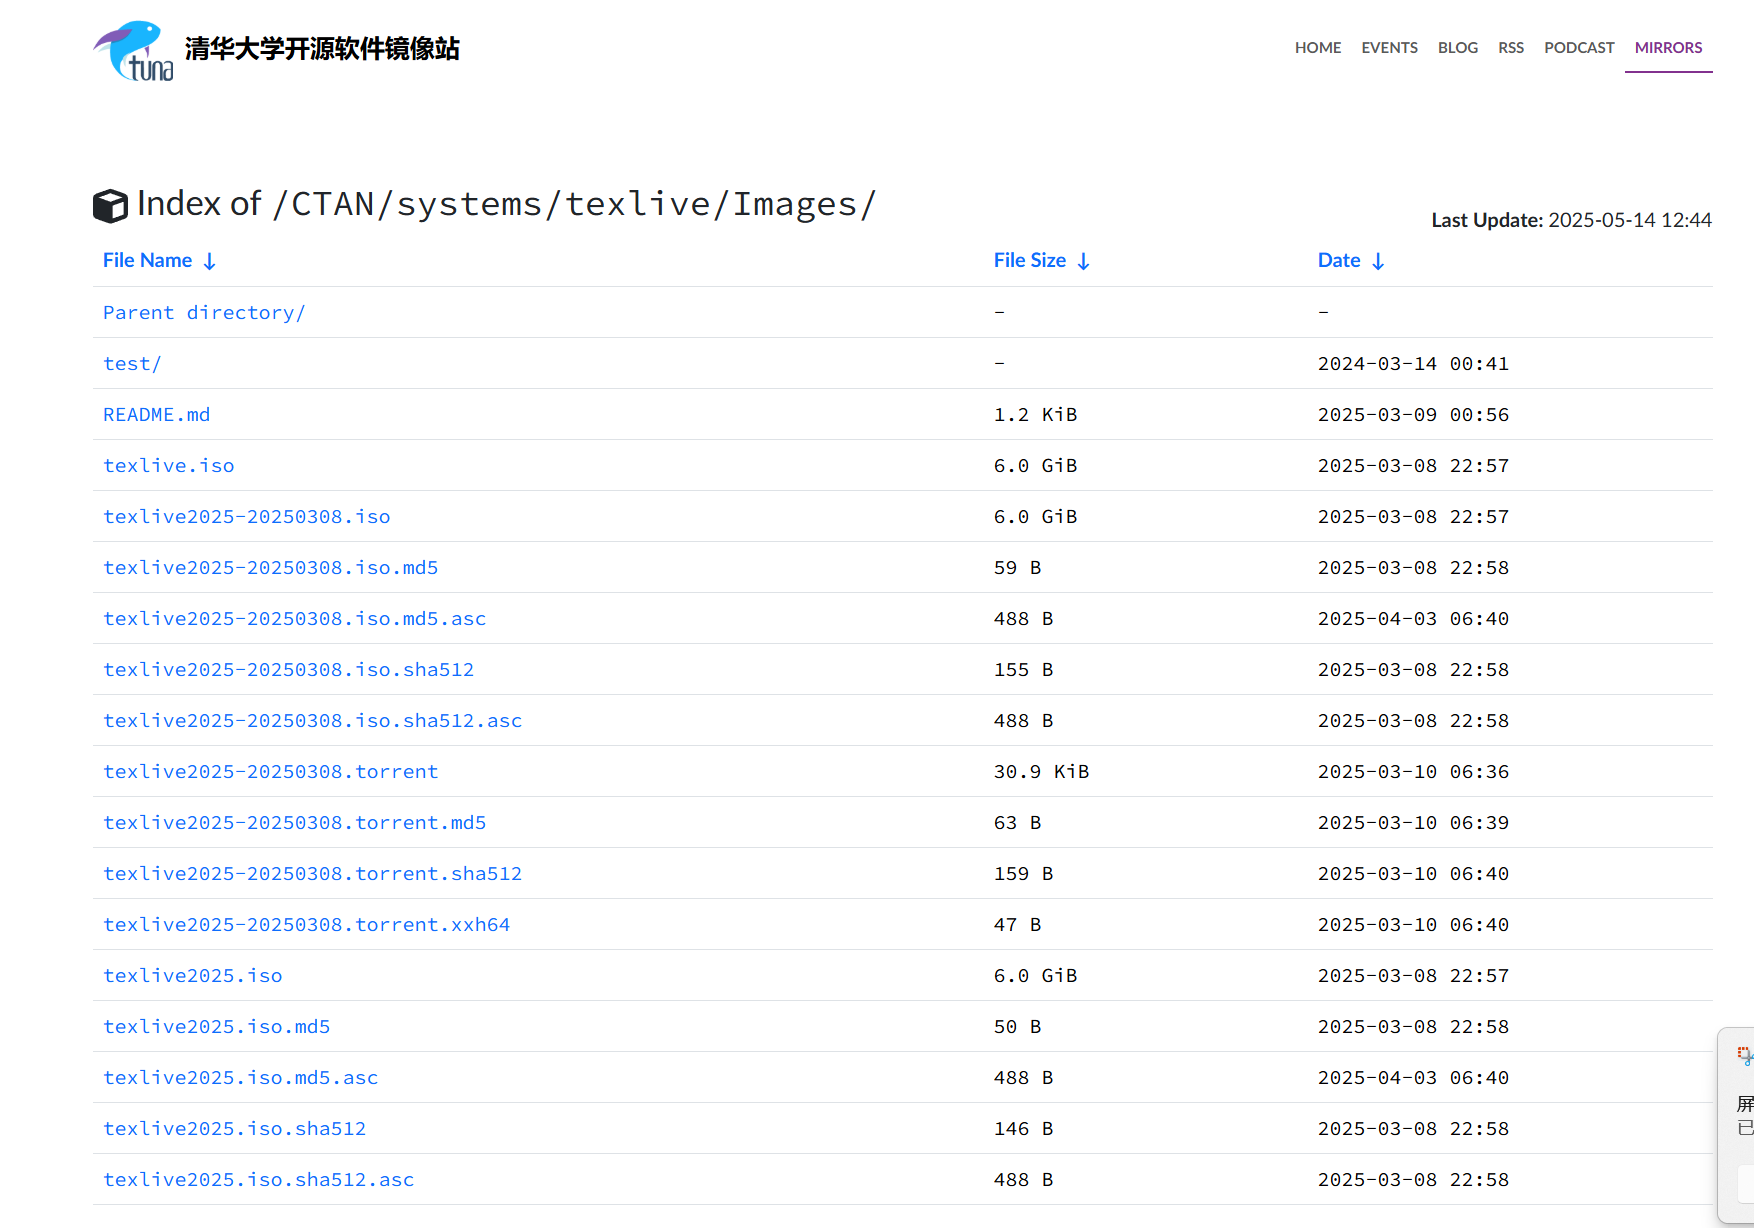
使用清华镜像源下载安装镜像texlive2025-20250308.iso
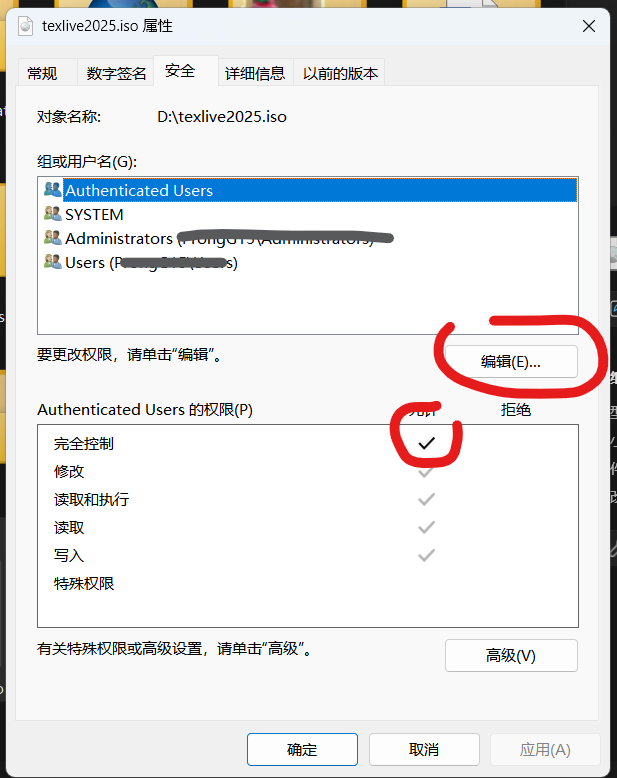
挂载安装镜像,可以提前修改镜像权限为完全控制方便安装。
打开WSL终端输入,此处我把镜像放在d盘,你可以自行修改具体位置。
安装时需要提供WSL的密码。
1 | sudo mkdir /mnt/texlive |
然后可以看见
1 |
|
进入安装后,我图方便直接全部安装。
配置环境变量
现在需要配置环境变量,输入vim ~/.bashrc,在~/.bashrc文件中按i进入编辑模式,添加
1 | # Add TeX Live to the PATH, MANPATH, INFOPATH |
输入esc保存退出。然后,重启 bash 或者执行命令 source ~/.bashrc 来重载 bash 配置,然后执行以下代码查看是否安装成功(如果正常输出了版本信息,则说明安装成功)
1 | tex -version |
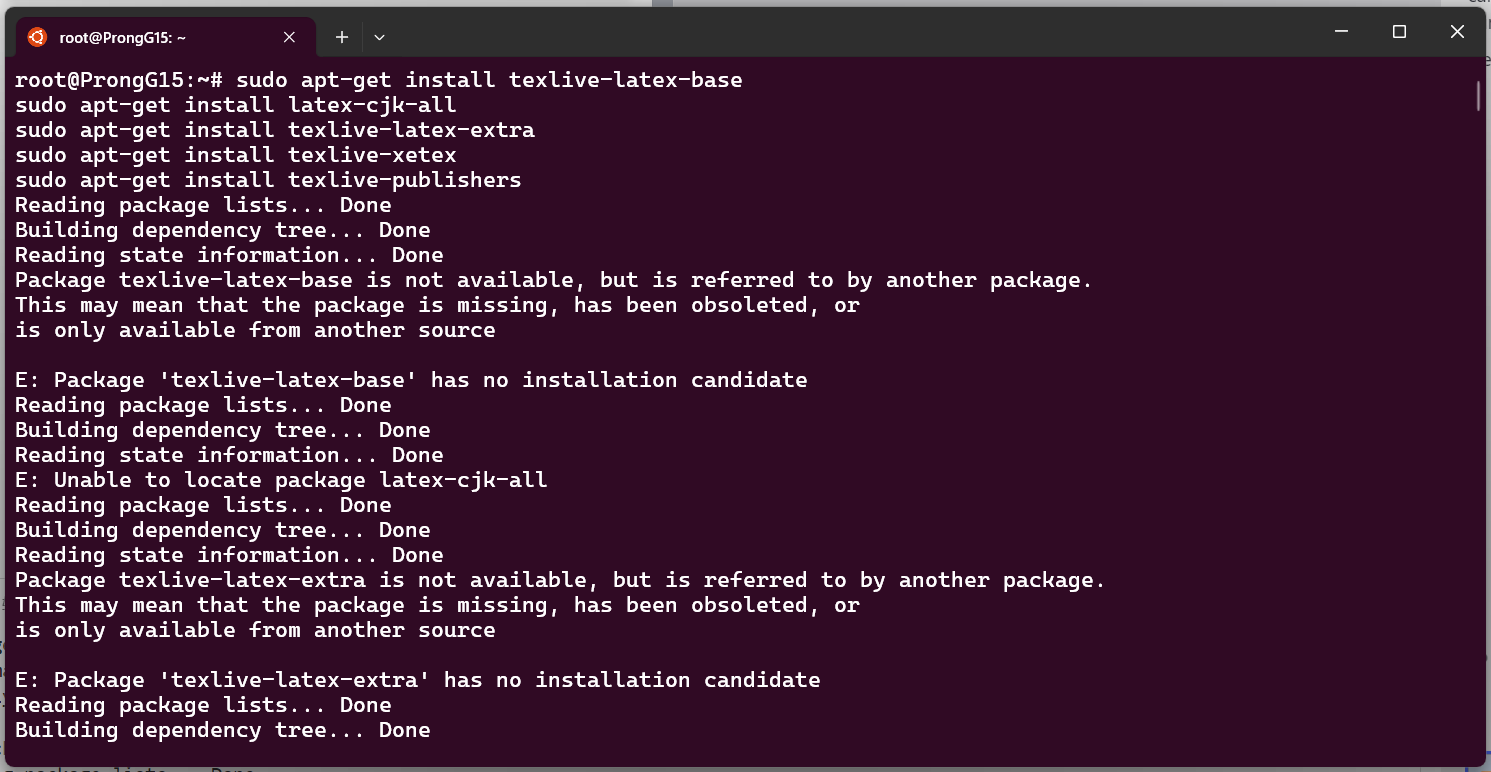
必做:升级安装TexLive相关组件
1 | sudo apt-get update |
然后安装(一定要做,否则可能无法渲染中文)
1 | sudo apt-get install texlive-latex-base |
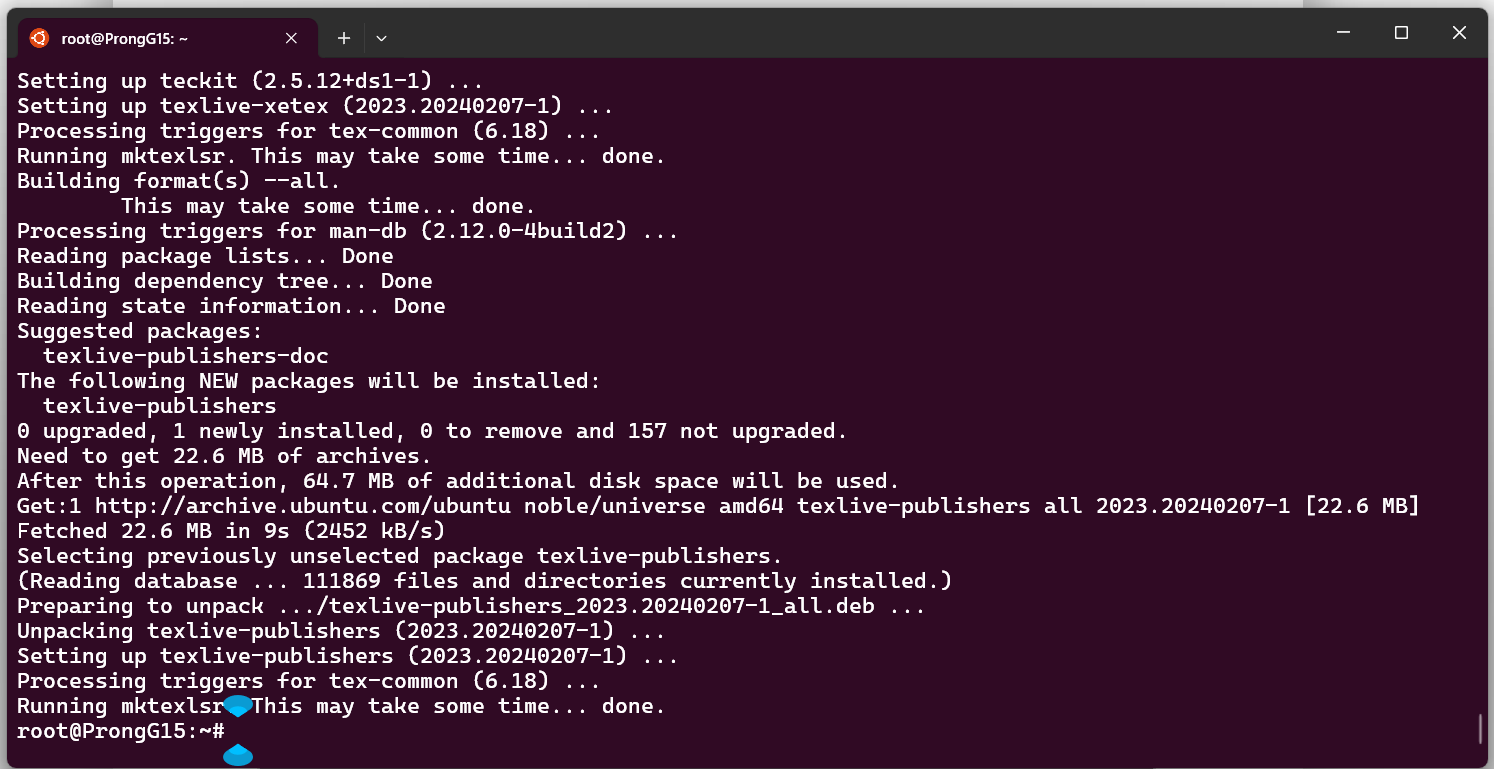
目的是在你的 Linux 系统中安装一个相当完整和功能丰富的 LaTeX 环境,使其具备:
- 基础的 LaTeX 编译能力
- 对 CJK (中日韩) 语言的良好支持
- 大量额外的宏包以实现各种排版需求
- 现代化的 XeTeX 引擎,方便字体使用和 Unicode 支持
- 特定出版商和期刊的模板支持
漫长的安装与更新
字体问题:与Win共享
输入以下命令,将字体共享给WSL
1 | sudo cp /usr/local/texlive/2024/texmf-var/fonts/conf/texlive-fontconfig.conf /etc/fonts/conf.d/09-texlive.conf |
安装完成后,将安装镜像弹出并删除 /mnt/texlive 文件夹
1 | sudo umount /mnt/texlive |
VSCODE的配置
VSCode安装LaTex Workshop
假设你的Win已经装了TexLive2025,那么此处如果先配置好了VSCode+LaTex(在Win里能正常用LaTex),那么此处利用
WSL+LaTex Workshop把配好的 Win 迁移到 WSL 就很轻松。
从VSCode+LaTex的配置说起。在VSCode的扩展商店搜索LaTex Workshop并安装。
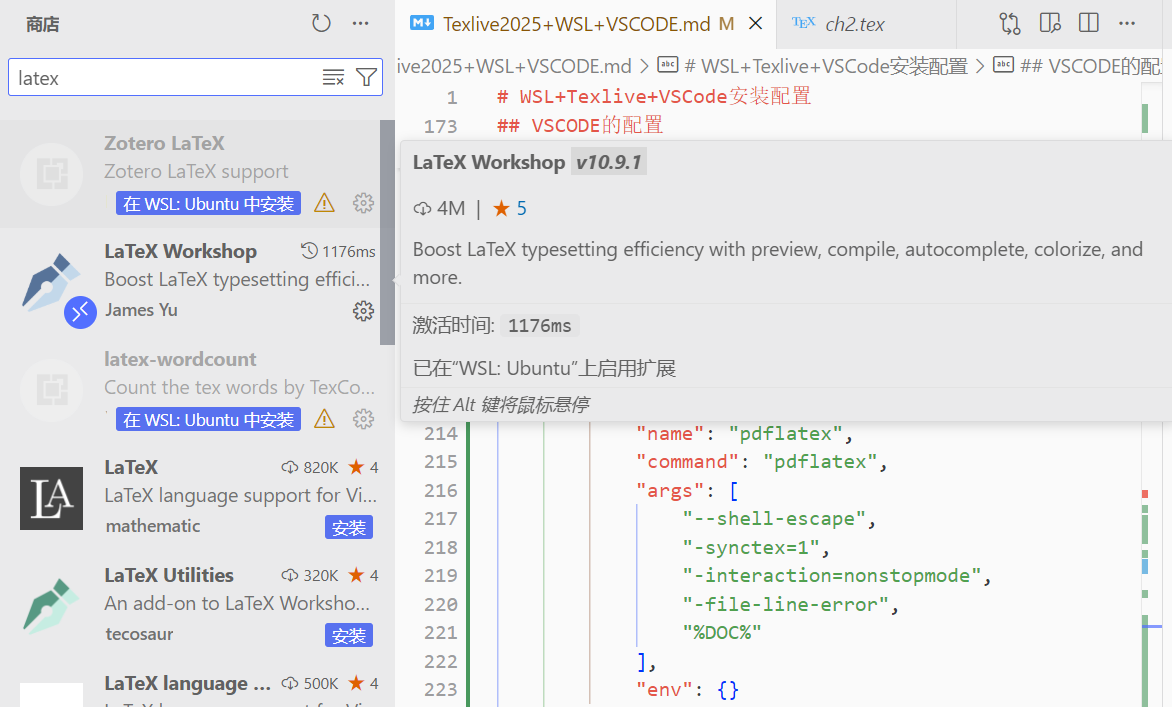
网上有很多教程让你下载SmartPDF,实际上现在最新版LaTex Workshop已经支持直接在VSCode中查看PDF了,且能双向定位,不需要下载其他软件。
Tex区按Crtl+Alt+J定位pdf,pdf双击定位Tex。
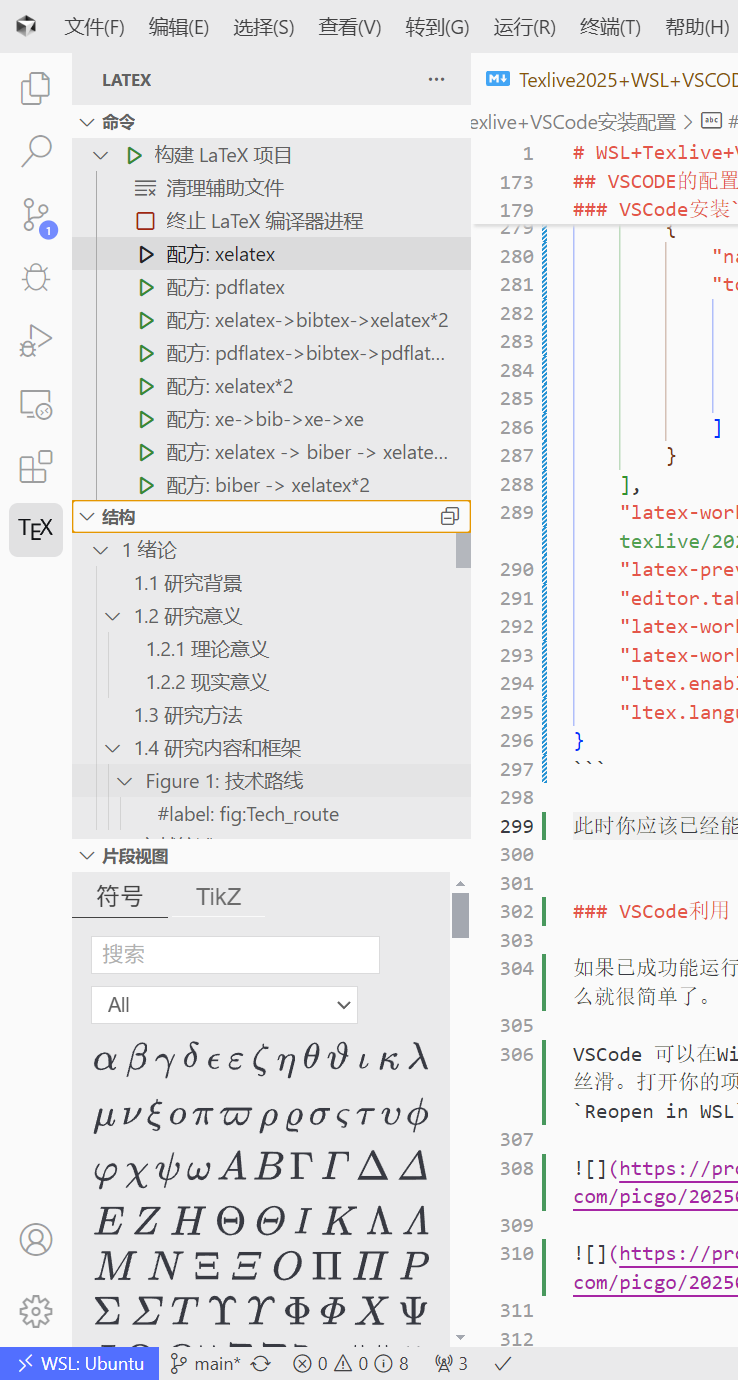
此处主要是需要对编译器进行配置。中文需要的是xelatex,英文需要的是pdflatex,参考文献需要的是biber。
通常对中英混排+参考文献的配置方案是
xelatex -> biber -> xelatex*2。提供一个参考的配置JSON,你也可以自己配置。输入ctrl+shift+p,输入settings.json,回车即可打开配置文件。注意缩进和,不要错
1 | { |
此时你应该已经能正常使用VSCode+LaTex了。
VSCode利用 WSL Reopen 打开项目
如果已成功能运行WSL,在Win里能正常打开项目,能正常编译,那么就很简单了。
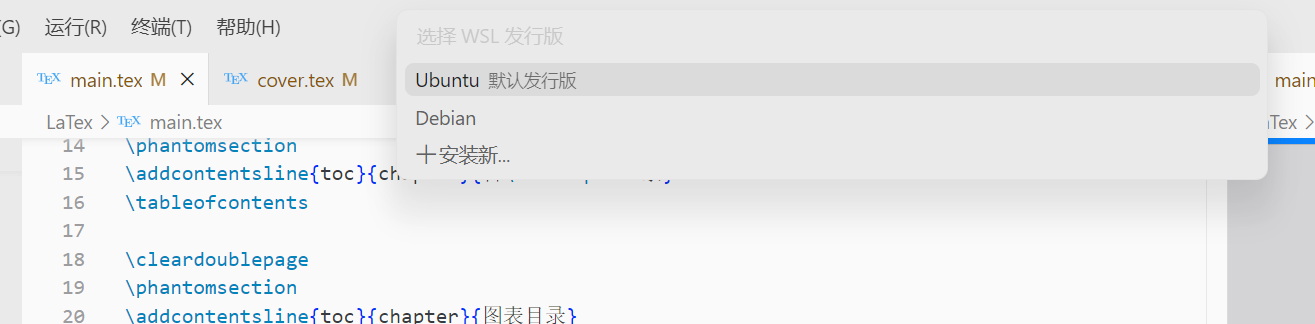
VSCode 可以在Win里以WSL打开Win目录的项目,所以用起来效果很丝滑。打开你的项目(新建也行),输入ctrl+shift+p,输入Reopen in WSL,回车。


用WSL Reopen打开项目后,需要重新添加LaTex Workshop插件(如果已经在Win里配置好了,那么此处不需要重新配置,丝滑~~~)。安装完成后,你就可以在WSL里正常编译了。
复杂项目注意之前说的
字体问题:与Win共享问题 和升级安装TexLive相关组件和编译器配置是否都做了。
日常使用

丝滑+丝滑+丝滑
WSL里配置Git + SSH连接GitHub
WSL也需要配置Git

- 安装 Git
首先,打开终端并输入以下命令来安装 Git:
1 | sudo apt-get install git |
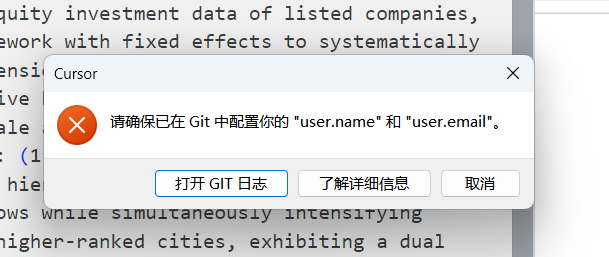
- 配置 Git 用户信息
设置全局用户名和邮箱:
1 | git config --global user.name "Your Name" |
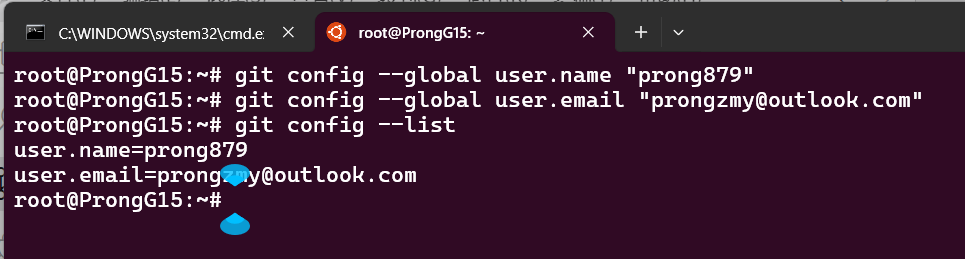
- 通过以下命令来检查配置是否成功
1 | git config --list |
如果需要使用SSH连接GitHub,则需要重新生成SSH密钥,然后添加到GitHub。
在 WSL 中生成新的 SSH 密钥对
-
打开WSL终端
-
生成 SSH 密钥
在终端中输入以下命令生成 SSH 密钥:
1 | ssh-keygen -t rsa -C "youremail@example.com" |
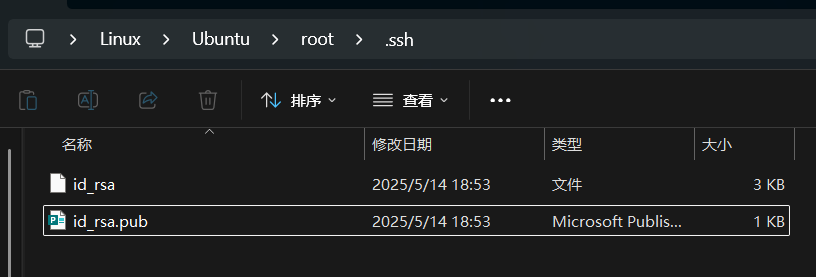
一路按回车键,使用默认设置。生成的密钥文件会保存在 ~/.ssh 目录下。
- 指定密钥文件的保存位置
1 | Generating public/private ed25519 key pair. |
-
/home/your_wsl_username/.ssh/id_ed25519是默认路径(如果使用 RSA,会是 id_rsa)。 -
直接按 Enter 键接受默认路径即可。 这会将私钥保存为 id_ed25519 (或 id_rsa),公钥保存为 id_ed25519.pub (或 id_rsa.pub),都在 ~/.ssh/ 目录下。
-
如果你已经有一个名为 id_ed25519 或 id_rsa 的密钥对,它会询问你是否覆盖。如果你想保留旧的,可以在这里输入一个新的文件名,例如 ~/.ssh/github_wsl_ed25519。但通常情况下,如果之前没有专门为 WSL 配置过,直接覆盖(或默认文件名不存在)是没问题的。
- 设置密码 (Passphrase)
接下来会提示你输入一个密码:
1 | Enter passphrase (empty for no passphrase): |
为了安全可以设一个,否则直接回车。
- 密钥生成成功
成功后,你会看到类似这样的输出:
1 | Your identification has been saved in /home/your_wsl_username/.ssh/id_ed25519 |
现在你的密钥对已经生成在 WSL 的 ~/.ssh/ 目录下了
将新的 SSH 公钥添加到你的 GitHub 账户
- 找到生成的公钥文件 id_rsa.pub(输入cat查看或直接记事本打开复制),并将其内容复制到剪贴板:
1 | cd ~/.ssh |
- 登录到你的 GitHub 账户,进入 Settings -> SSH and GPG keys -> New SSH key,将复制的公钥粘贴到 Key 栏中,并点击 Add SSH key 按钮。

- 测试连接
最后,测试是否成功连接到 GitHub:
1 | ssh -T git@github.com |
如果配置正确,你会看到类似于 “Hi username! You’ve successfully authenticated…” 的提示。
1 | Hi your_github_username! You've successfully authenticated, but GitHub does not provide shell access. |
通过以上步骤,你已经成功在 Ubuntu 上配置了 SSH 以连接 GitHub